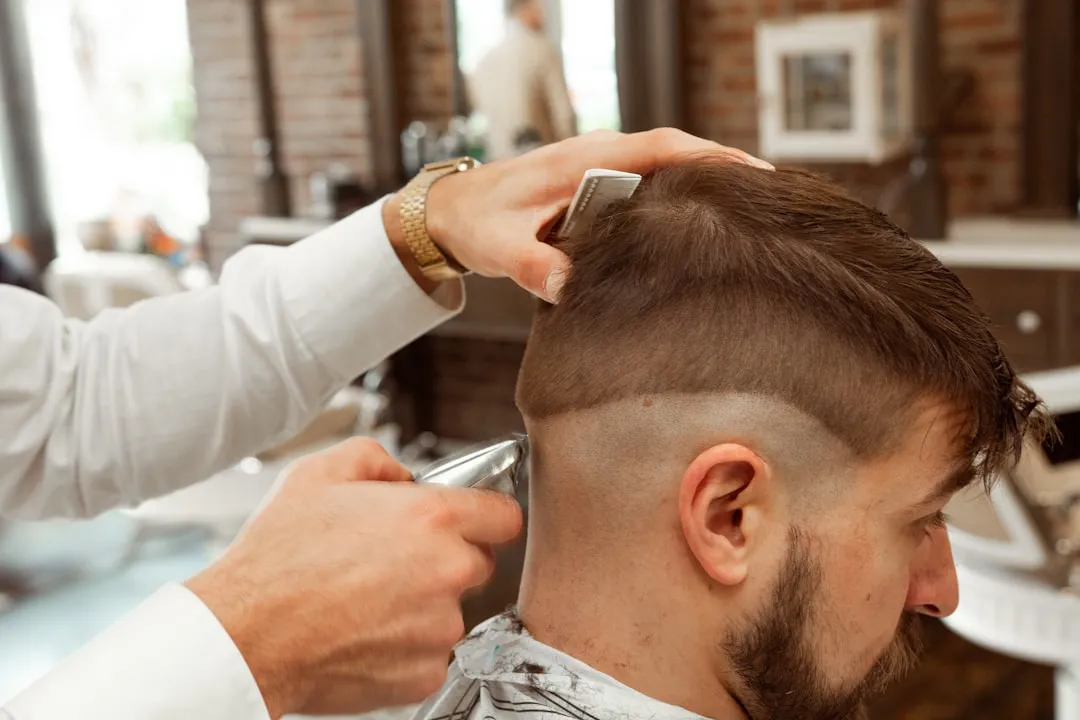
Learning how to do a professional haircut at home is more affordable than you might think.With the right techniques, proper tools and practice, anyone can master this skill and save significantly with salon visits.
This practical guide takes you step by step through the entire process, from initial preparation to final finishing.You will discover how to choose the best scissors, understand the different types of cuts, and apply techniques that professionals use daily to achieve flawless results.
Essential Tools to Get Started
Before you make your first haircut, you need to gather the right tools.The quality of these equipment directly determines the end result of your work. Investing in good quality materials from the beginning avoids frustrations and ensures clean and accurate cuts.
Professional cutting scissors are the most important item of your toolbox.You should opt for high-quality stainless steel scissors, as they keep the wire sharp for much longer.Inadequate scissors cause shredding at the tips of the hair and result in inaccurate cuts that impair the overall appearance.
You will also need a fine tail comb to separate strands and a wide-toothed comb to untangle the hair. The tail comb is especially useful for making precise divisions and length markings. Both combs should be sturdy and not break easily when passing through the hair.
A spray spray or spray water is critical to keep hair moist during cutting.Dry hair cuts very differently from damp hair, so you need to keep moisture consistent.A simple spray bottle works well, but make sure that the water comes out in a fine, even mist.
You should also have a safety razor for texturing and line setting jobs. The razor creates smoother finishes than simple scissors.For beginners, fixed razors are easier to control than razors with retractable blades.
A large mirror in front and a smaller mirror to see the back of the head are indispensable. You need to visualize the cut from all angles to maintain symmetry. Many cutting errors happen because the hairdresser can not see well the back or side.
Finally, you need a cloth or towel to place around your shoulders, protecting the clothes from cut hair. A microfiber towel or a professional barber cord prevents the wires from falling on your skin and causing discomfort during the process.
Preparing Hair Before Cutting
Proper hair preparation is as important as the cutting technique itself. You should wash and dry your hair thoroughly before starting any cut. Clean hair reacts better to cutting techniques and allows better visualization of the actual length and texture.
After washing, dry the hair with the same comb that you will use during cutting. This allows you to work with the hair in its natural state and prevents unpleasant surprises when the hair dries completely. If you are used to using a dryer, dry hair with a dryer is the best option to evaluate the final result.
Comb your hair thoroughly to remove all knots and tangles.You can not make a precise cut with tangled hair.Start at the tips and gradually work towards the roots, using gentle and patient movements.
Divide hair into sections before you start any cut. For medium and long hair, you should create between four and six main sections. Use clips or rubber bands to keep each section separate while working on one at a time. This organization prevents you from mistakenly cutting a part you intended to leave for later.
The horizontal section of the crown to the nape works well for beginners. You create a line from the top of the head to the highest point of the ears, then descend to the nape of the neck. Another vertical division divides the hair from the middle of the head to the nape, creating left and right sides.
Fundamental Cutting Techniques
There are two basic techniques that you must master to make any type of haircut. The first is the reference point technique, where you cut a section and use it as a guide for the others. The second is the overlay, where each section of new hair is cut following a predetermined pattern.
In the reference point technique, you start by cutting a small section as a guide. You hold this section perpendicular to the head and cut at the desired height. All subsequent sections are cut following this reference length. This ensures uniformity and avoids uneven cuts that create a sloppy appearance.
You will learn that the way you hold the scissors and the comb affects the final result. The scissors should be held with your pinky finger and ring on the scissor rings, while the index finger is next to stabilize. The comb should guide the hair while you work with smooth and controlled movements.
Cutting speed matters less than accuracy. You should work slowly at first, making small shavings and constantly checking the length.It is much easier to cut a little more after than to try to fix a very short cut section.
Understanding the concept of scissors over comb versus scissors in the air helps you better control the result. When you put the scissors over the comb, the comb acts as a guide and stabilizer.When you cut in the air without the comb, you have more freedom, but also more risk of errors.
You also need to learn about the different cutting angles. A horizontal cut creates a straight and well-defined line. An angle cut creates a smoother and textured line. A point cut creates layers and movement in the hair. Each technique is suitable for different hair types and desired styles.
Step-by-Step Guide to a Simple Straight Cut
A straight cut is the best starting point for someone who is just starting out. This cut maintains an even length throughout the hair and produces a clean, defined line. You can apply the principles of this cut to later practices with more complex styles.
First, you decide what the final length of your hair will be. Measure from the tip of your hair to the height where you want it to end. If you are shortening too much, consider doing this in several steps instead of a drastic cut. You can always cut more, but you can never grow back hair at the same speed.
Start by selecting a small section of hair on the central front. This will be your reference section. Hold this section between your index and middle finger, stretching it slightly down. Use the scissors to cut to the desired height with a firm and decisive movement.
Once you have cut your reference section, you work on an adjacent section. Take a new small section, place it next to the section you just cut, and make sure the new hair reaches the same length.
You must work one side at a time before moving to the other side. Complete the entire left side from the front to the nape. Then go back ahead and repeat the process on the right side. This approach keeps you organized and avoids accidentally cutting a section that you have already completed.
As you progress backwards, the hair changes direction and growth. You need to adjust its cutting angle to keep up with this natural change. On the front, the hair grows further forward, while on the nape, it grows further down. Ignoring this reality results in an uneven cut.
When you get to the nape of the neck, you should cut with extra care. This area is often denser and the hair may appear shorter than it actually is. Check the length several times before making the final cut in this region.
After you complete the entire perimeter, you go back and check the uniformity. Look for any longer thread that should be shortened. Use a comb to pass through the entire lower line of the cut. Any uneven protrusion or thread is immediately visible.
Creating Layers and Texture
Once you have mastered basic straight cutting, you can evolve into more advanced techniques like creating layers. Layers add movement, volume and texture to hair. They are especially useful for fine or frizz hair where even length can feel heavy.
To create layers, you work on sections and cut each section shorter than the previous section. Start at the top of the head and work toward the bottom. Each successive layer is cut a few inches shorter, creating a cascading pattern.
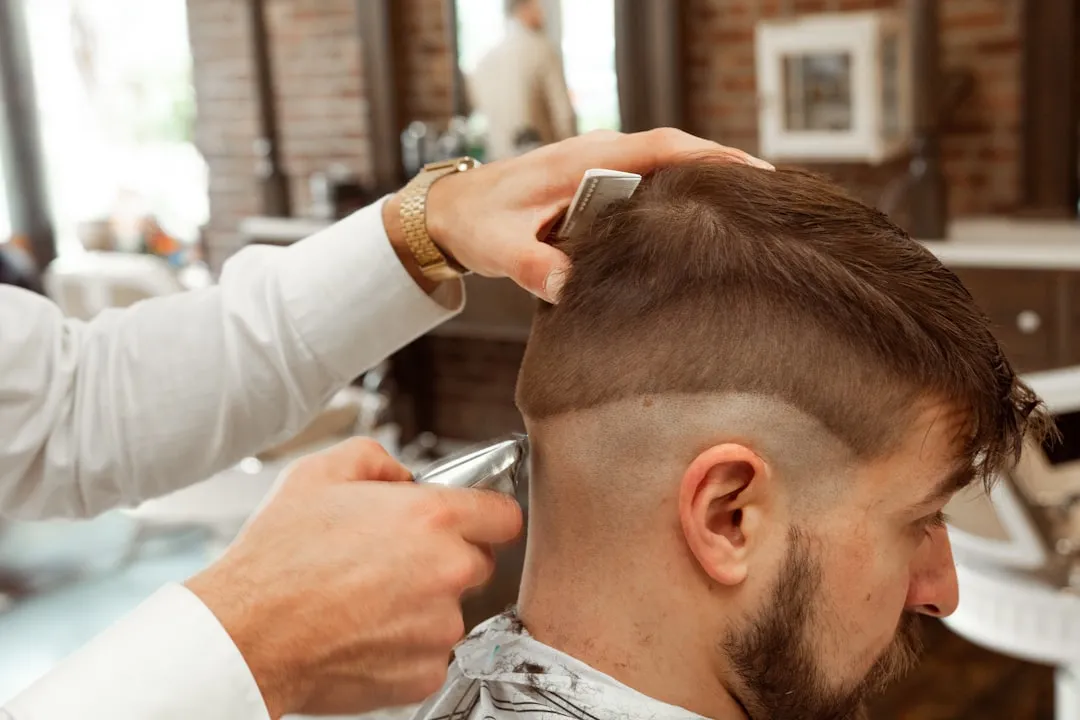
The amount of overlap between layers determines how dramatic the effect is. You can create subtle layers with only a few inches of difference between each layer. Or you can create very visible and textured layers with differences greater than five or ten centimeters.
You will learn that the angle of the section determines how the layer forms. If you pull the section directly up, perpendicular to the head, the layers are uniform. If you pull at a forward angle, the layers are shorter at the front and longer at the nape. If you pull back, the opposite happens.
Texturing is another technique you can add to your arsenal. Instead of making a straight cut, you use the razor or stitch technique to cut only up to half height of each wick.
Curved or wavy hair usually benefits greatly from texturing. Straight hair can look heavy when cut into very even layers. Texturing creates natural separation and allows the natural wave pattern or curls to show itself better.
Adjusting the Cutting for Different Hair Types
Each type of hair responds differently to cutting techniques.You need to understand specific characteristics of the type of hair you are cutting to get professional results.The type of hair affects not only how it looks immediately after cutting, but also how it evolves over the next few weeks.
Straight and straight hair tends to look shorter when dry than when wet. You should cut a little longer than the desired final size to compensate for this shrinkage. Smooth hair also shows each strand very clearly, so any inequality is easily visible.
Wavy or wavy hair creates unique challenges because the length changes depending on how much the hair curls. You should always cut wavy hair when it is dry and in its natural state. Cutting wavy hair when wet usually results in a much shorter cut than you intended when the hair dries and curls.
Curly hair needs a completely different approach.You should never use a traditional scissors to cut very curly hair, as this causes uncontrolled frizz.Instead, use a razor or spot cutting technique that preserves the natural shape of curls.
Very thin hair needs cuts that create illusion of volume. You should avoid very short layers that remove hair and create more even lengths that look fuller. Texturing also works well for thin hair as it removes weight while maintaining volume appearance.
Thick, dense hair can withstand more texturing and weight removal.You must remove mass from the inside of the hair to create movement and flow. Without this weight removal, very thick hair can look heavy and sloppy even in a well-executed cut.
Fixing Common Mistakes
Even professionals make mistakes occasionally, so you should not be discouraged if something does not turn out perfect the first time. Understanding how to fix the most common problems helps you save a cut that did not work exactly as planned.
If you cut too short on one side, the simplest option is to cut the other side to match. This may mean cutting shorter than you intended, but it maintains symmetry and allows you to try again in a few months.
Unequal wires in the bottom row are easily fixed. You simply cut these uneven wires to the correct length and then check the entire line again. Use a comb to ensure that the entire bottom line is perfectly straight and even.
If the layers get too short or uneven, you can add more texturing to create cohesion. The more texturing you add, the less notorious the uneven lengths get. This turns an error into an intentional choice that improves overall trimming.
You may have cut the bangs too short or at a wrong angle. The bangs are difficult to fix quickly because it grows too slowly.Your best learn is to let it grow a little and try again when it has more length to work with.
If the hair looks too short when dry, you can try combing it to one side or forward in a different way. Styling can help visually lengthen the hair and hide smaller uneven lengths.
Maintenance and After-Cut Care
How you cut is only half the equation. How you care for hair after cutting determines how long the cut remains beautiful. With the right care, a good cut lasts much longer and continues to look professional.
Dry your hair carefully after cutting. Use a medium temperature dryer so as not to damage freshly cut hair. You can use styling products to create the desired look. Choose styles that work with your natural hair texture for easier-to-maintain results.
You should wash your hair with a quality shampoo and conditioner. Cheap products damage the hair and make it look dry and brittle right after cutting. Investing in better hair products preserves the quality of the cut for longer.
Cuts need regular touch-ups to keep fit. Depending on your hair type and style, you should cut every four to eight weeks. Hair that grows too fast needs more frequent touch-ups. Hair that grows slowly can wait longer between cuts.
You can use scissors and comb regularly at home to cut small ends or uneven strands that appear between professional cuts.A small maintenance cut takes only a few minutes and keeps the hair looking well trimmed and organized.
Protection from damage is also important. Avoid excessive exposure to sun, chlorine and salt water, as they all damage freshly cut hair. Wear caps or hair sunscreens when you need to stay outdoors for long periods.
Developing Your Skills with Practice
True mastery in haircut comes only with consistent and dedicated practice.You should start with simple cuts on friends or family willing to be your practice models.
Keep a notebook or folder of photos of cuts you have completed. Document each cut with photos before, during and after. This allows you to track your progress and identify areas where your technique is improving or where you still need to work.
Watch videos of professional hairdressers making their cuts. Study their techniques, angles and scissor movements.You will learn little tricks and shortcuts that professionals use to work faster and produce more consistent results.
Ask for honest feedback from your practice models.If something didn't come out perfectly, ask exactly what and work to improve next time.Constructive feedback is more valuable than empty compliments.
You should invest in formal training if you want to become very proficient. Online courses, classes at beauty schools, or learning from an experienced hairdresser will accelerate your learning.
Remember that even the best hairdressers started as beginners.Each competent professional went through a learning phase where he made mistakes and faced frustrations.His patience and perseverance now will result in reliable skills later.
Haircutting is a skill that improves dramatically with dedication and consistent practice. You started this guide as someone interested in learning, and now possess the foundational knowledge to begin your journey.With the right tools, solid techniques and regular practice, you will soon be able to create professional haircuts that you and your practice models will enjoy.